|
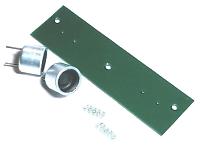
An acrylic board with 2-mm thickness is used to install send and receive sonar. |
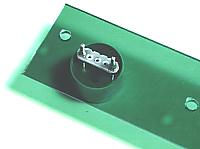
An universal printed board is used to fix a sonar. A printed board is cut according to the position of the lead wire of the sonar. A sonar is fixed by the soldering from the back of the acrylic board. |
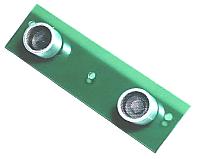
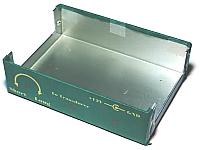
The right side from the front is a sonar for the transmission and the left side is a sonar for the receiving. The attention should be paid to the installing because the shape is the same.
White paper is put between the acrylic board and the case that it is easy for the color of the acrylic board to be able to be seen. |
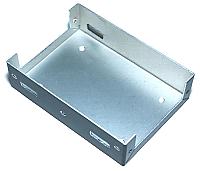
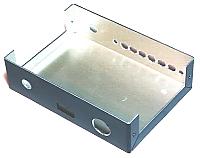
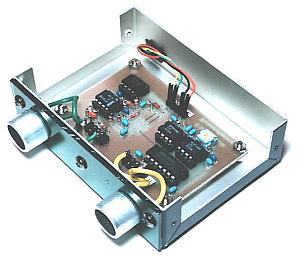
A case is made from aluminum. A jigsaw and files were used for the square hole. |
 |  |
|
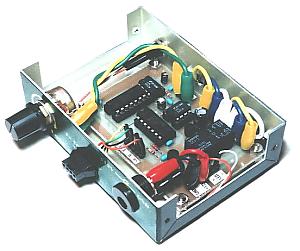
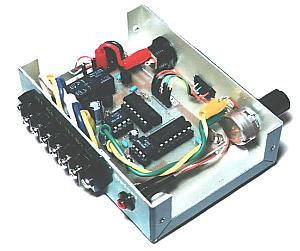
Parts are mounted and wiring is done.
Thick wire is used for the sonar. It is for the resistance value to decrease. But there is not the need. |