Project preparing
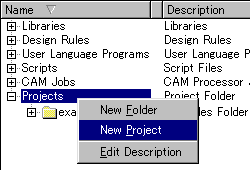 Select a project with the control panel and select "New Project" from the menu which is displayed with the right click. 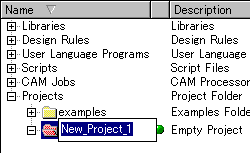 A new project folder is made under the project. Set the name of the project. In this example, I set "test" as the project name. The name can be changed later. The name can be changed by selecting "Rename" from the menu which is displayed with the right click. When the project is working, it isn't possible to change the name. In this case, select "Close Project" from the menu which is displayed with the right click. When a project is closed, the green mark changes to the small gray mark. In this condition, the project name can be changed.
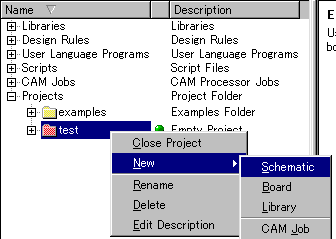 Select "New" from the menu which is displayed by right clicking the project and select "Schematic". By above operation, the window to draw a schematic is displayed newly. In this condition, an actual file isn't made yet. 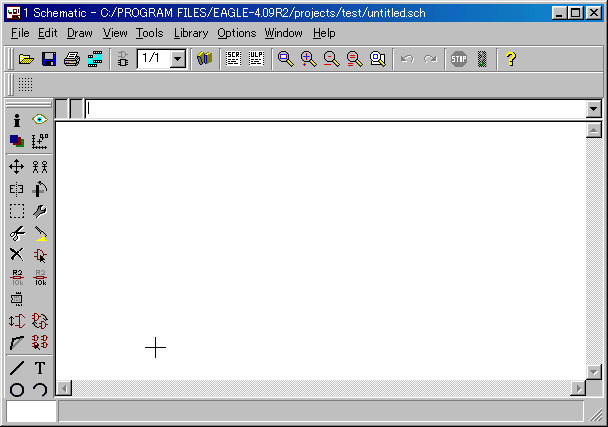
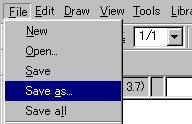
In this example, I made "test" as file name which is same as the project. The other name can be used too. 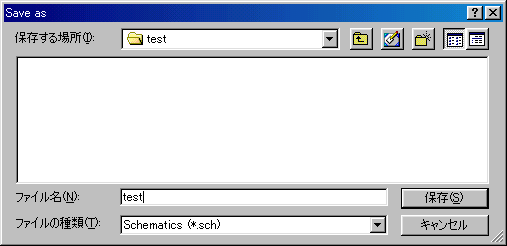 A file is made by pushing the Save button(S). The picture above is Japanese version window.
 The board can be created by clicking "Board" icon in the schematic window. When a board isn't made yet, board creating is confirmed by following dialog.  A board file is created by pushing the "Yes" button. The file name is same as the schematic file. But, the extension is ".brd". Following board window is displayed. In this condition, an actual file isn't made yet. 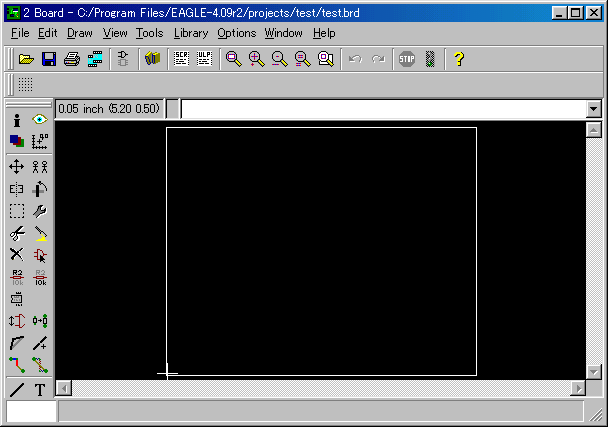
The existence of the schematic file and the board file can be confirmed by the project "test" of the control panel. 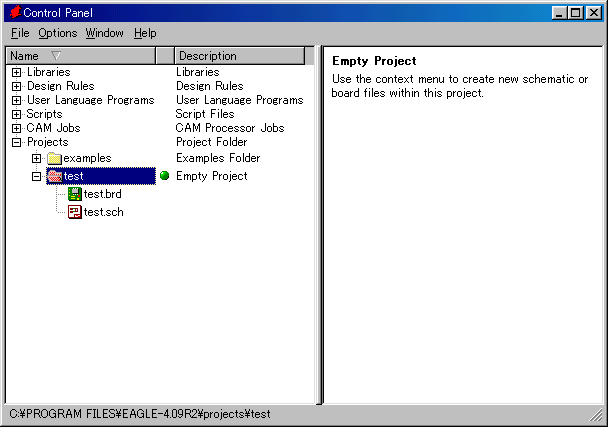 The working environment was ready with above operation. |
